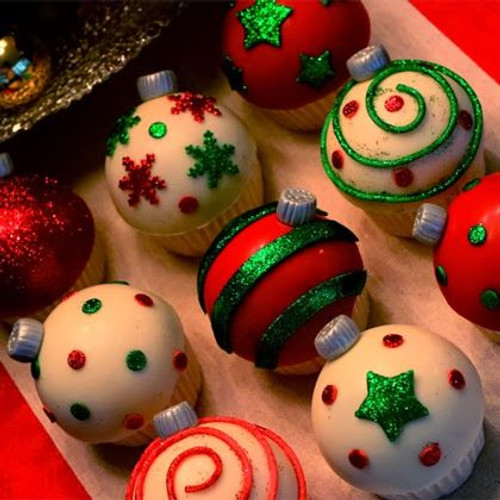
Ornament Cupcakes - One Dozen
Recipe & Tutorial:
I promised some Christmas cupcake tutorials and I have been slacking! BUT, I’ve locked the children in the basement (no, no, KIDDING!!) and have finally put together this ornament tutorial for those of you who have been asking. This is hopefully the first of a few of the designs from this year’s collection. I don’t have my new camcorder yet, but as soon as I do I’ll be SHOWING you the tutorials! (And I’ll definitely include a video on how to make these ornaments, as they in particular seem to be pretty popular.)
Ornament Cupcakes
(This pic shows some red candy melts already melted, spooned in the spheres, put in the freezer and peeled off.) But to start, you will need a silicone half sphere pan and some candy melts. ( I get both online. )
Melt them according to the package. (This pic shows melted white candy melts in the half sphere.)
Spread into each cavity using a spoon. Make sure to cover completely, and then rub off any overhang around the edges. Also, make sure to get the edges thick enough so that they don’t break off a little when you separate them from the silicone, leaving you with a ragged edge.
Pop them in the freezer for 5 to 10 minutes. While you’re waiting, make the ornament “clasps”. Roll a little piece of grey fondant, push down on the top of it while on the counter to achieve the appropriate shape, and then skor the sides to give it some texture.
Poke some holes in the top with a toothpick, and brush some silver luster dust on them.
Gently pull the silicone off of the candy melts after you remove them from the freezer. Cut out some shapes, rub some water on them and cover them with edible glitter. Use water or edible glue (water with some fondant dissolved in it) to attach the clasps, and whalah! You can buttercream a cupcake like normal and then stick one of these on top!
Enjoy!


